Steps to Integrate Gluedin Android SDK into existing application
Please follow the below steps to Integrate Gluedin SDK in your existing Android Application using latest Android Studio (Android Studio Bumblebee | 2021.1.1)
Note: Android Studio Artic Fox & Below versions might have different steps to integrate.
- For Android Studio Bumblebee, Open settings.gradle file in project root folder and add below line of code within “dependencyResolutionManagement” tag. If tag is not added, please add the same using below code.
Sample API call in Kotlin Class
dependencyResolutionManagement {

repositoriesMode.set(RepositoriesMode.FAIL_ON_PROJECT_REPOS)

repositories {

google()

mavenCentral()

maven { url 'https://jitpack.io ' }

maven {

  url "https://plugins.gradle.org/m2/"

                }

maven {

name = "GitHubPackages"

url = uri("https://maven.pkg.github.com/plussaw/GluedIn")

credentials {

username = "plussaw"

  password = "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"

  }

   }

  }

}
For Android Studio Artic Fox and Below, Add below code into project build.gradle file
repositories {

google()

mavenCentral()

maven { url 'https://jitpack.io ' }

maven {

url "https://plugins.gradle.org/m2/"

  }

maven {

name = "GitHubPackages"

url = uri("https://maven.pkg.github.com/plussaw/GluedIn")

credentials {

username = "plussaw"

password = "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"

  }

  }

  }
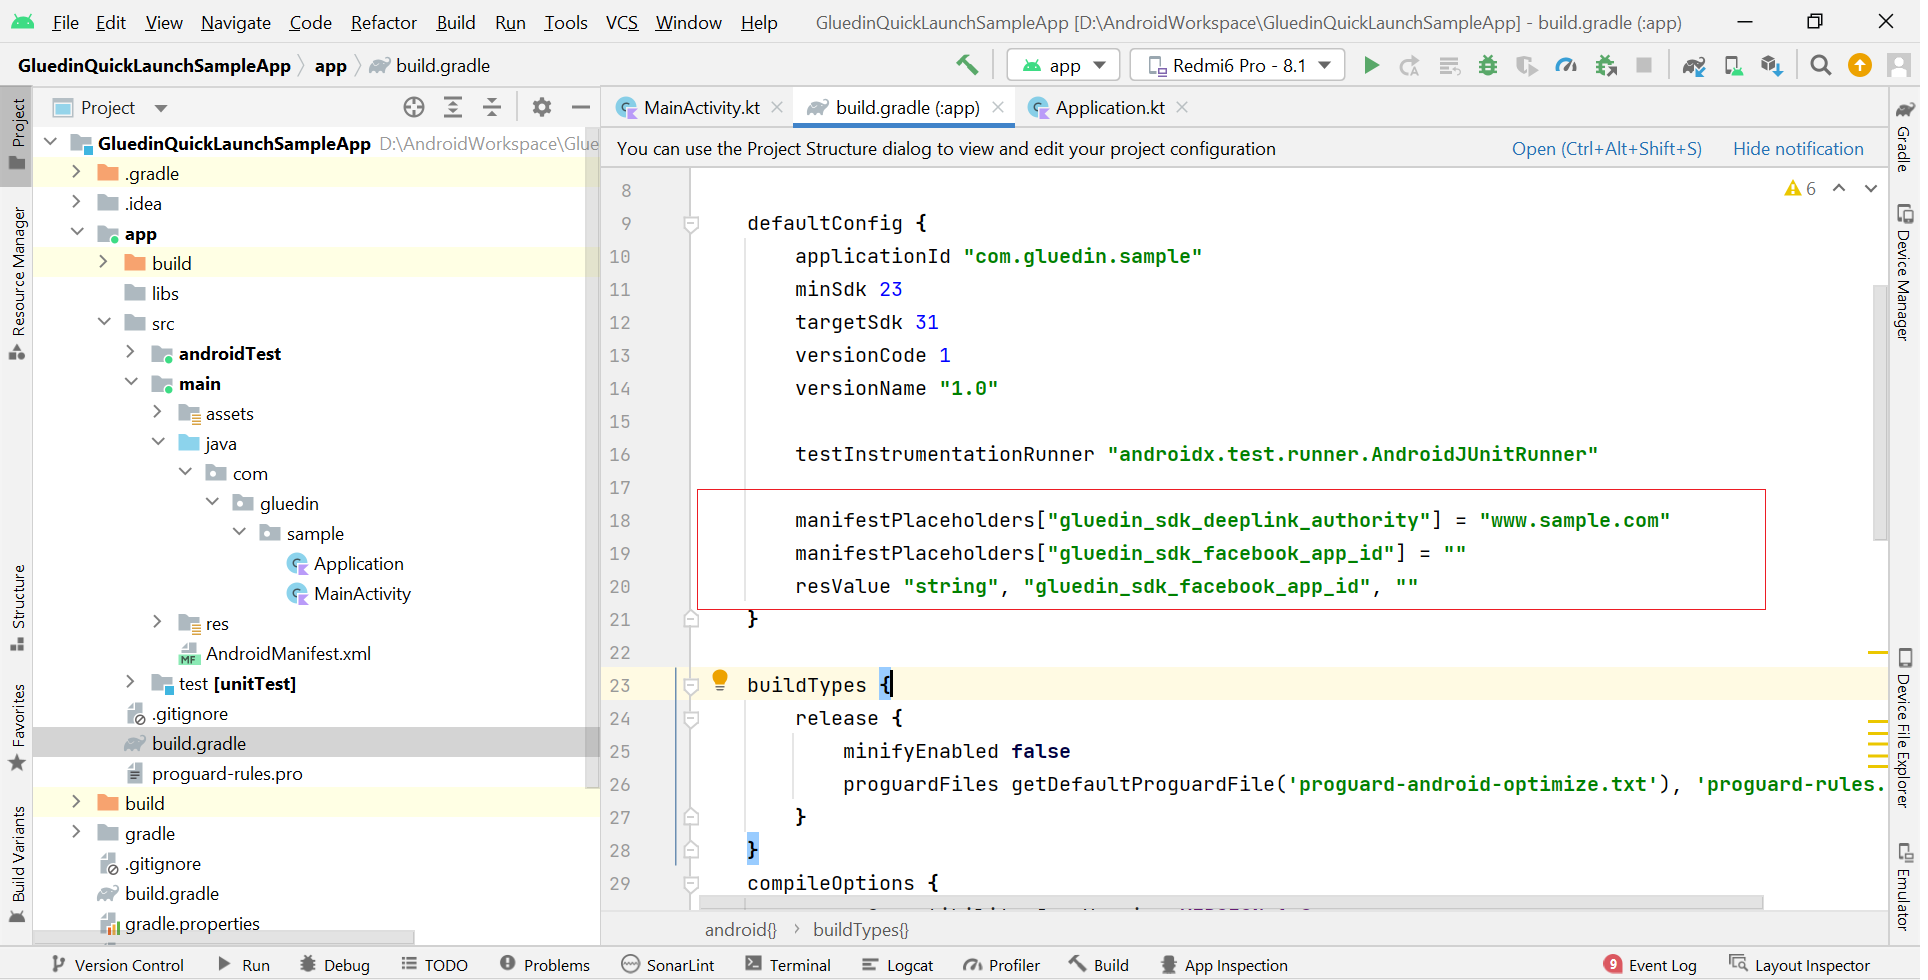
Now add below code into the app/build.gradle file.
android {

    ……

    …...

    buildFeatures {

        viewBinding true

        dataBinding true

    }

}
Open gradle.properties and add below line if not present,
android.enableJetifier=true
Add Facebook id in app/build.gradle. Refer to step 6 for details.
Note: Since it’s just for resolving dependency at runtime. You can keep the gluedin_sdk_facebook_app_id key as empty/null.
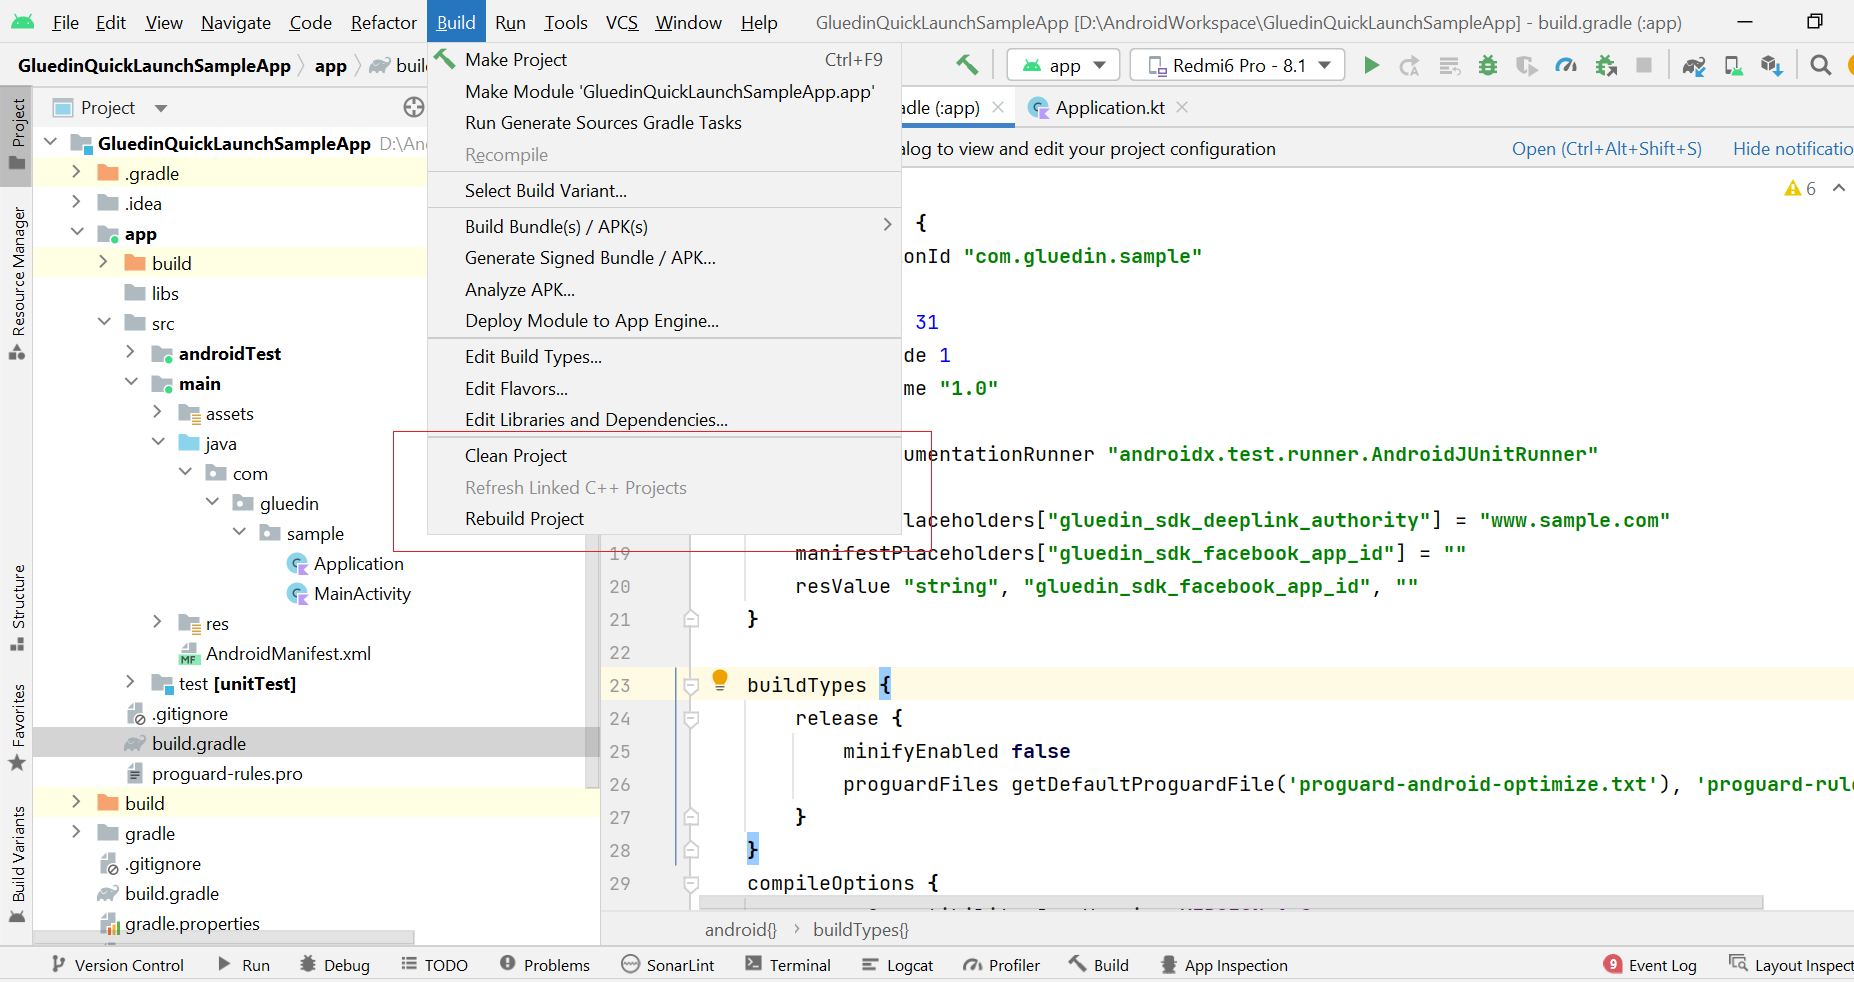
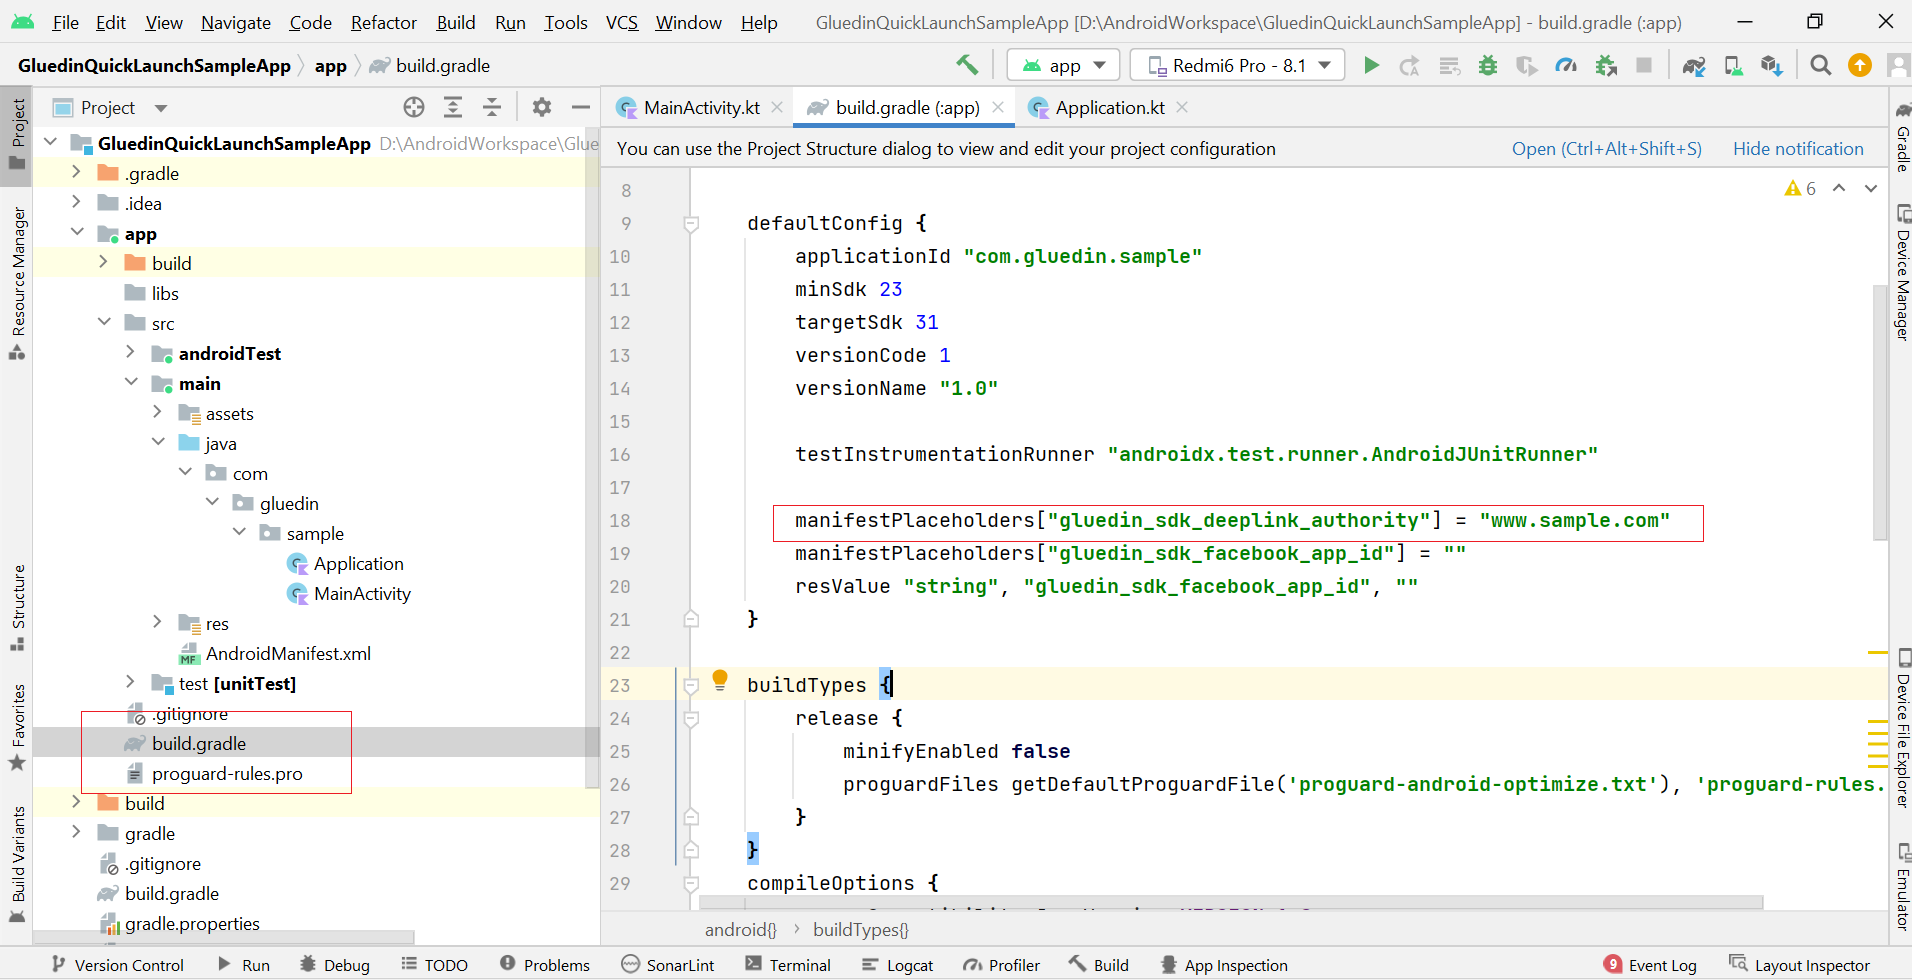
Now open the app/build.gradle file and change the URL scheme to your domain to reflect the same when someone shares any content from the app.
Note:Don’t add http or https
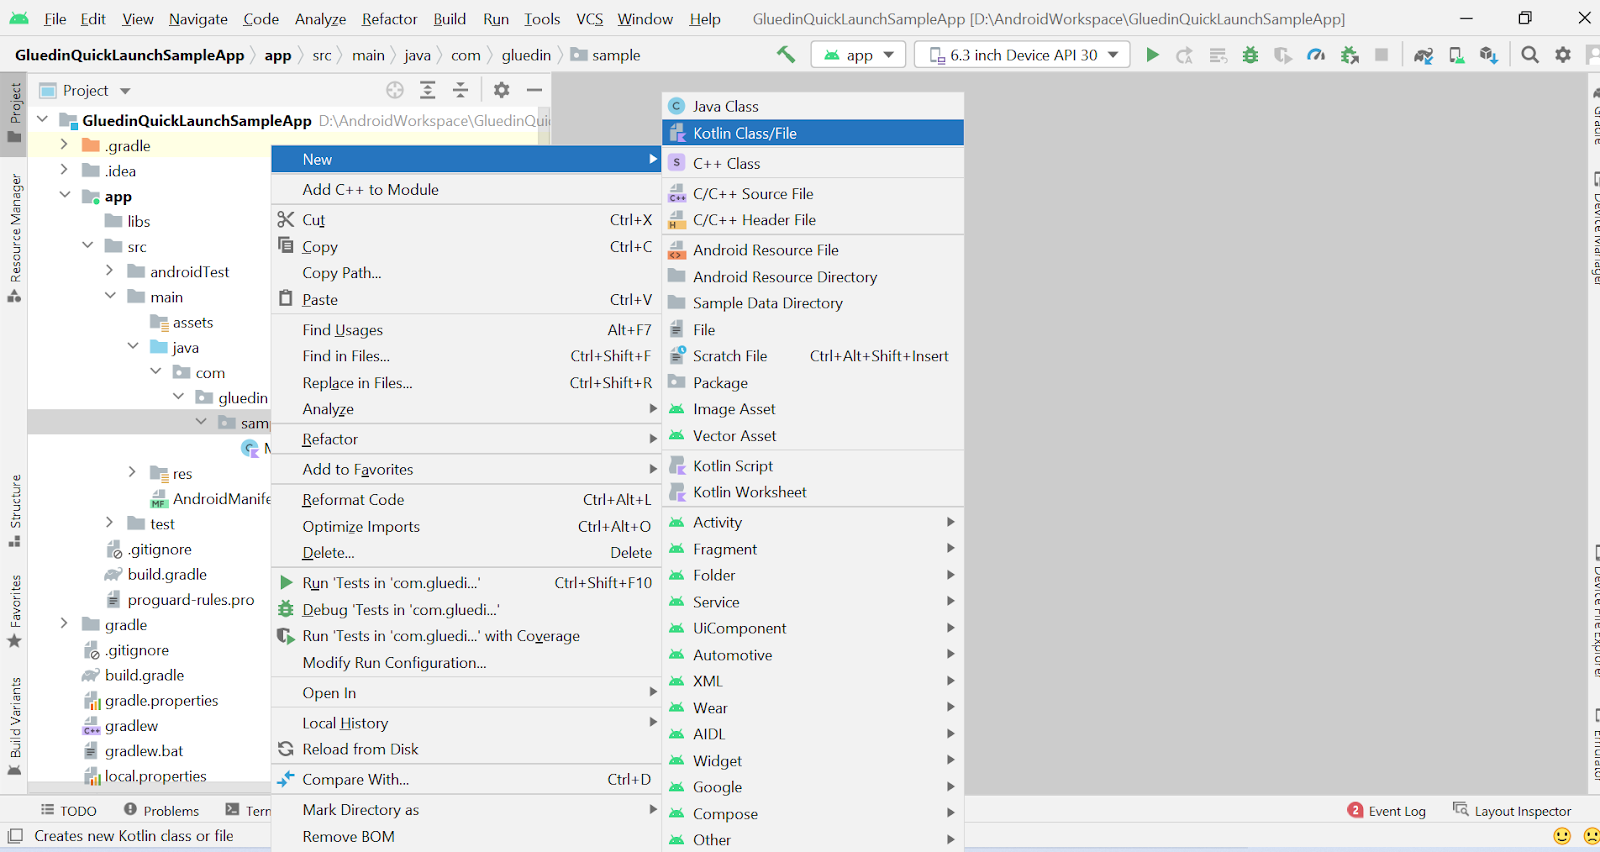
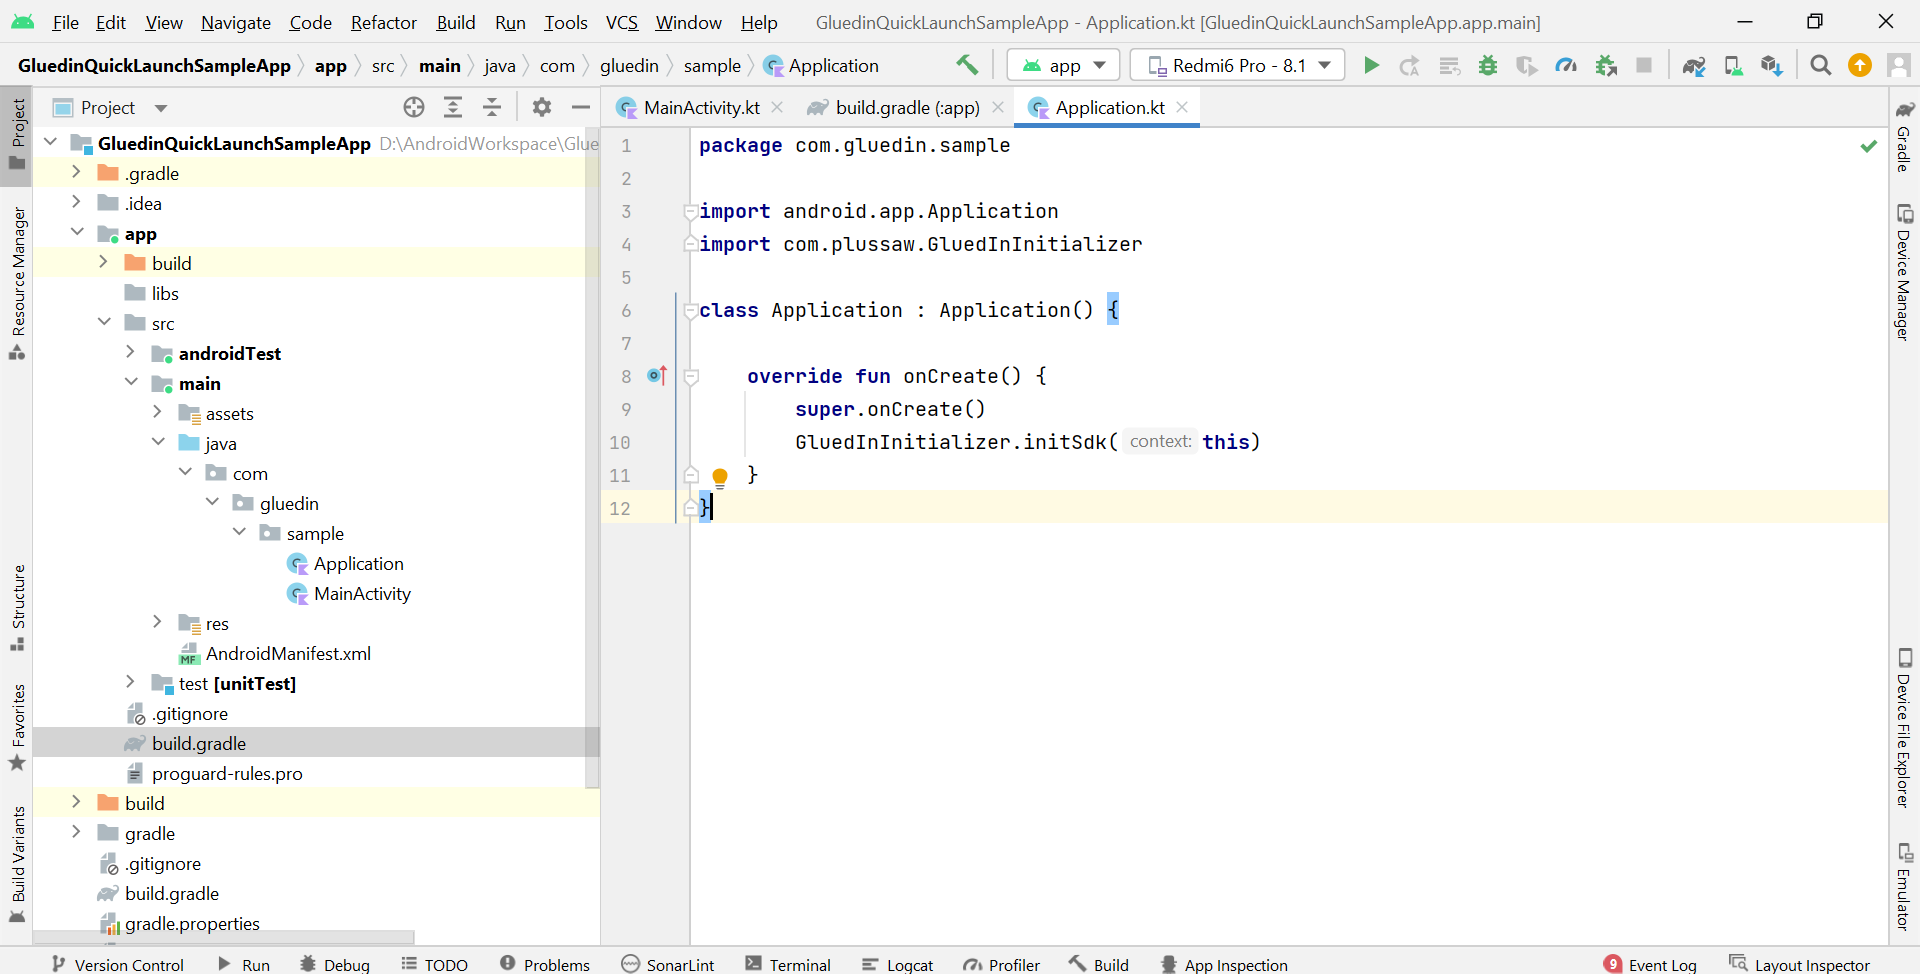
Now open the “Application” class of the project if it’s already in your project, else follow below steps to add “Application” class in the project.
a. Right click on folder then goto “New” -> “Kotlin Class/File”
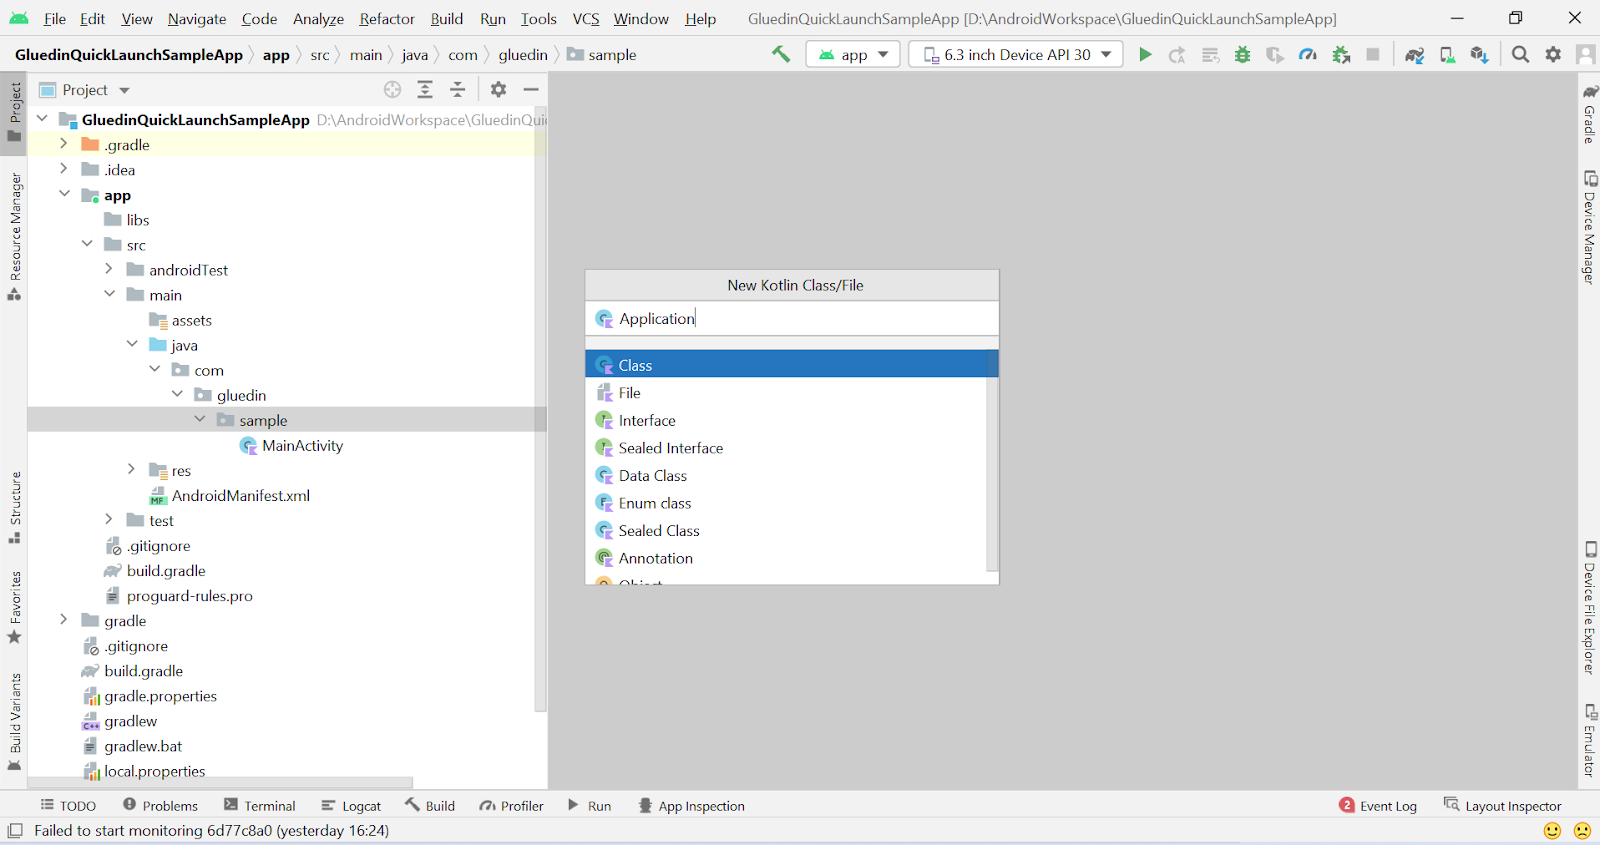
b .Now enter class name as “Application” and select “Class” option from list and press Enter key.
c. Once the application class will be created, Now extend the application class with android.app.Application class and onCreate() method like below and add below code in onCreate() method of “Application” class:
override fun onCreate() {

       super.onCreate()

       GluedInInitializer.initSdk(this)

    }
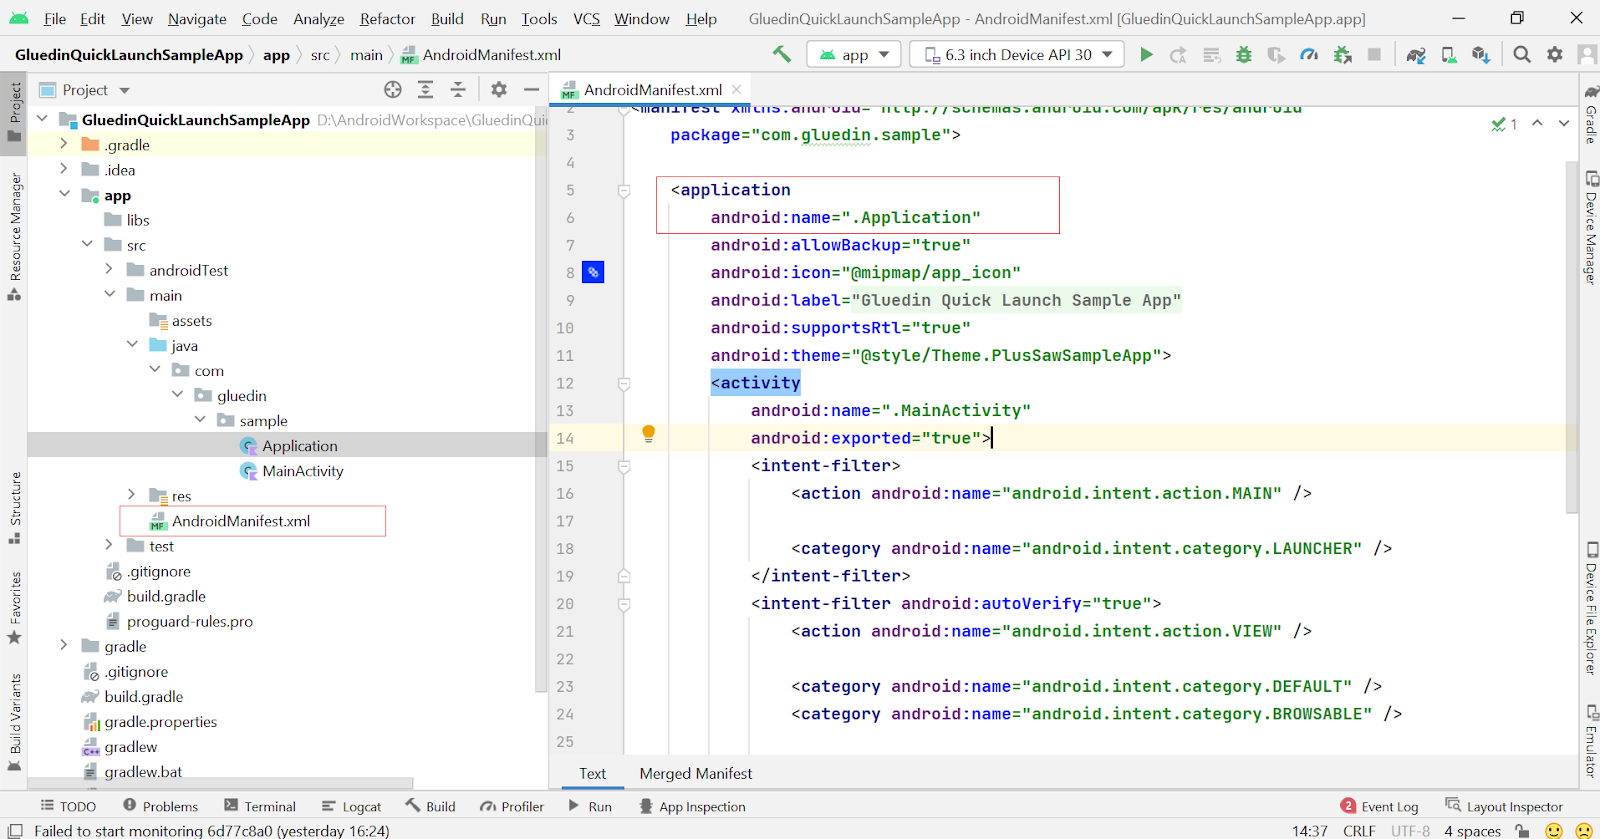
d. Now add the “Application” class reference in the AndroidManifest.xml file. As below
8.Add below code into your MainActivity of the app OR on a place from where you want to launch the GluedIn SDK.
val callback: GluedInSDKCallBack= object : GluedInSDKCallBack{
override fun onSdkInitSuccess(
isSuccess: Boolean,
gluedInSdkException: GluedInSdkException?
) {
if (isSuccess) {
finish()
} else {
Toast.makeText(
this@MainActivity,
"GluedInSDK Launched Failed",
Toast.LENGTH_SHORT
).show()
}
}
override fun onAppAuthSuccess(
isSuccess: Boolean,
gluedInSdkException: GluedInSdkException?
) = Unit
}
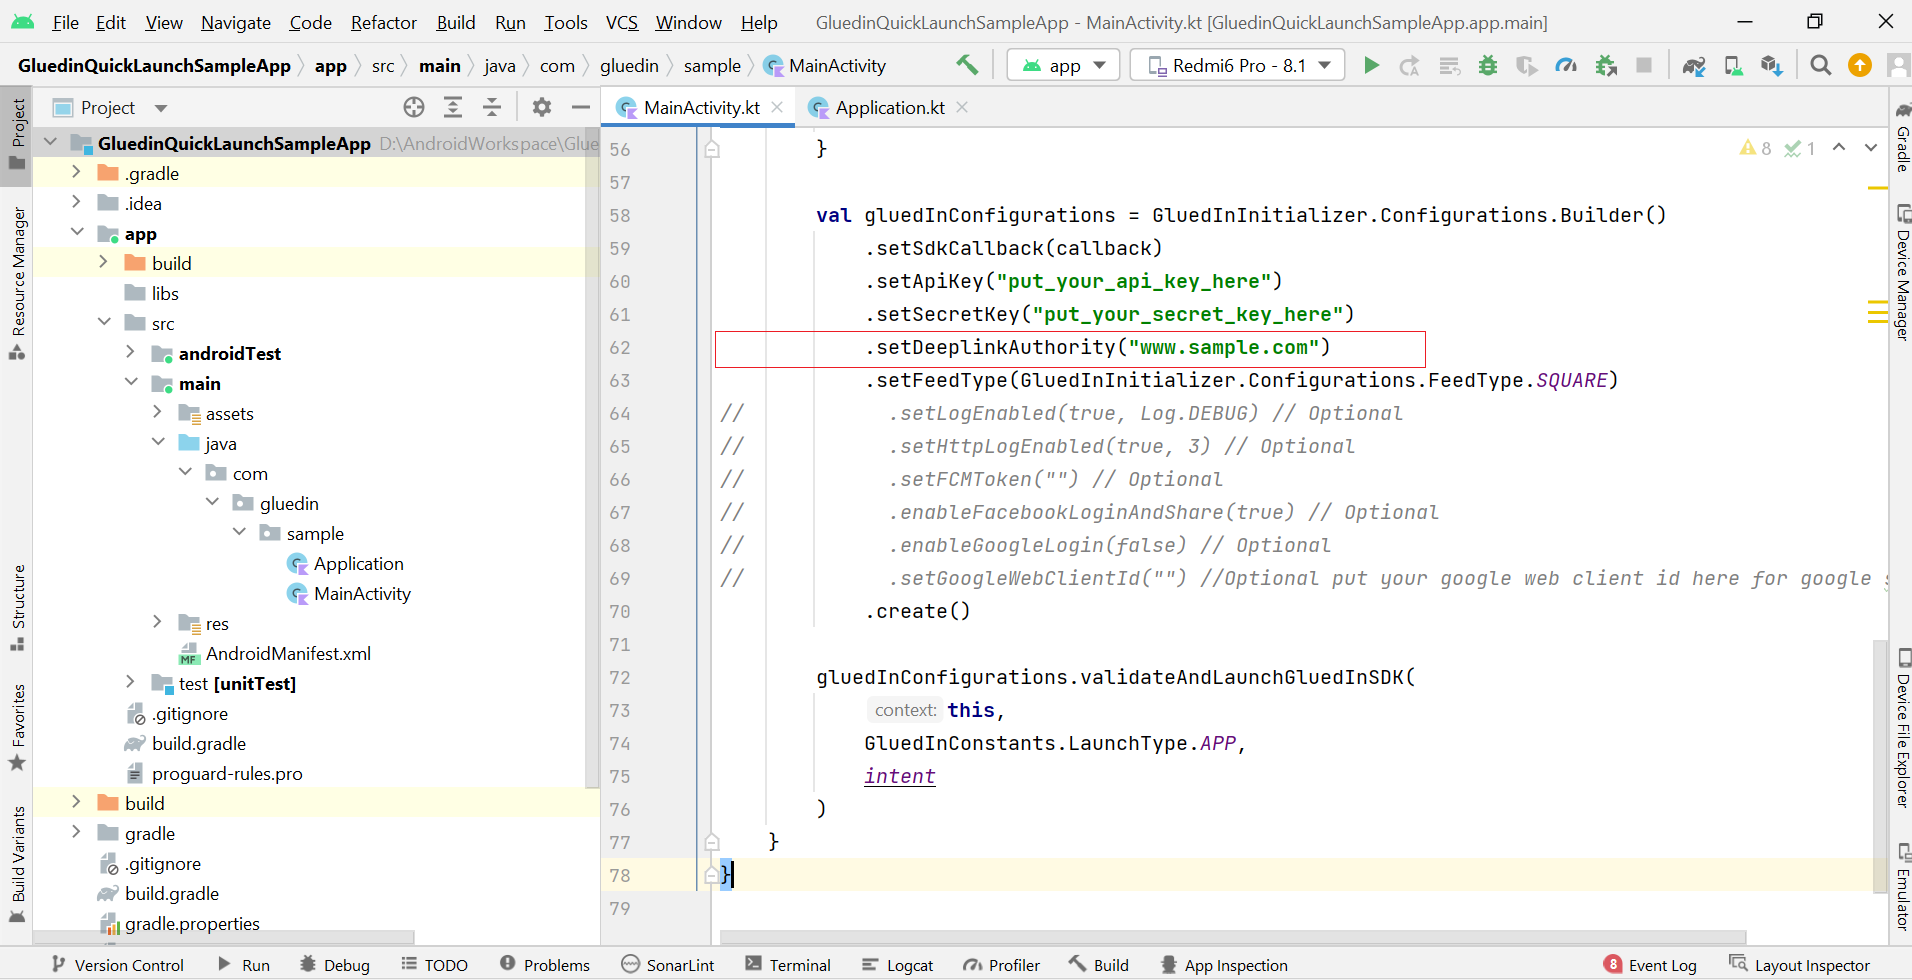
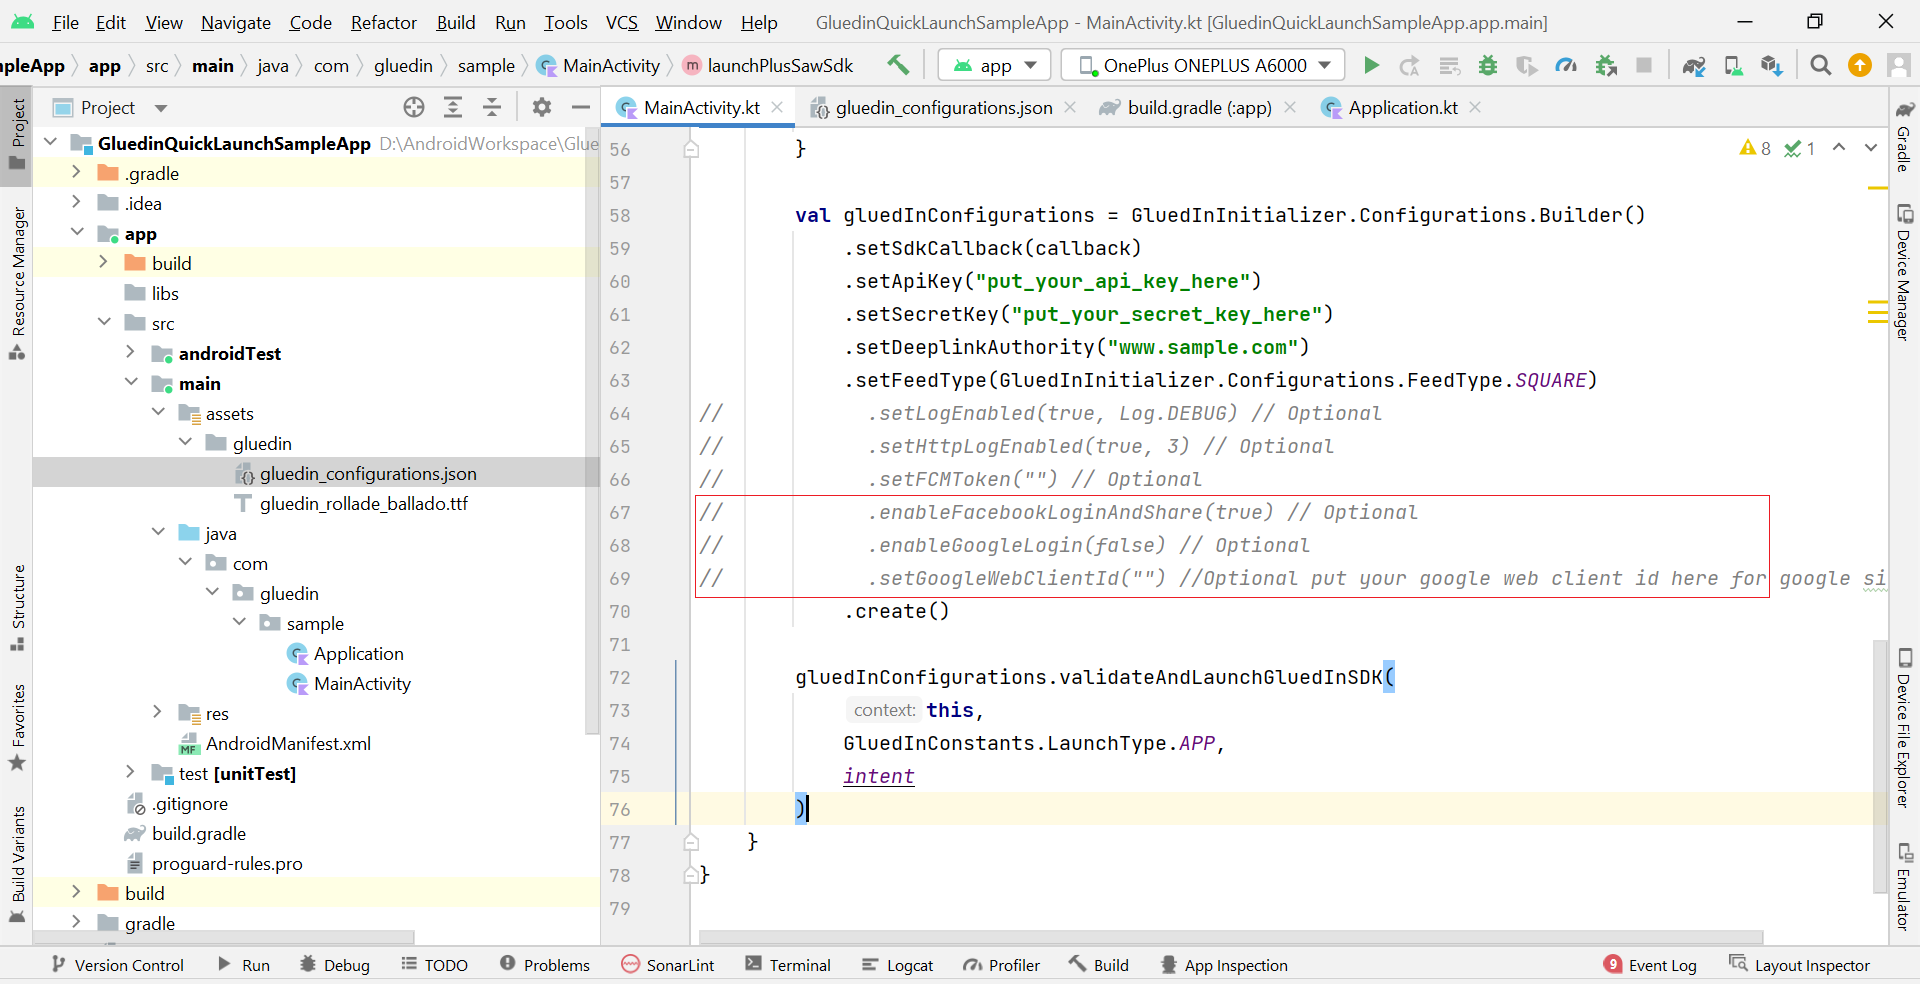
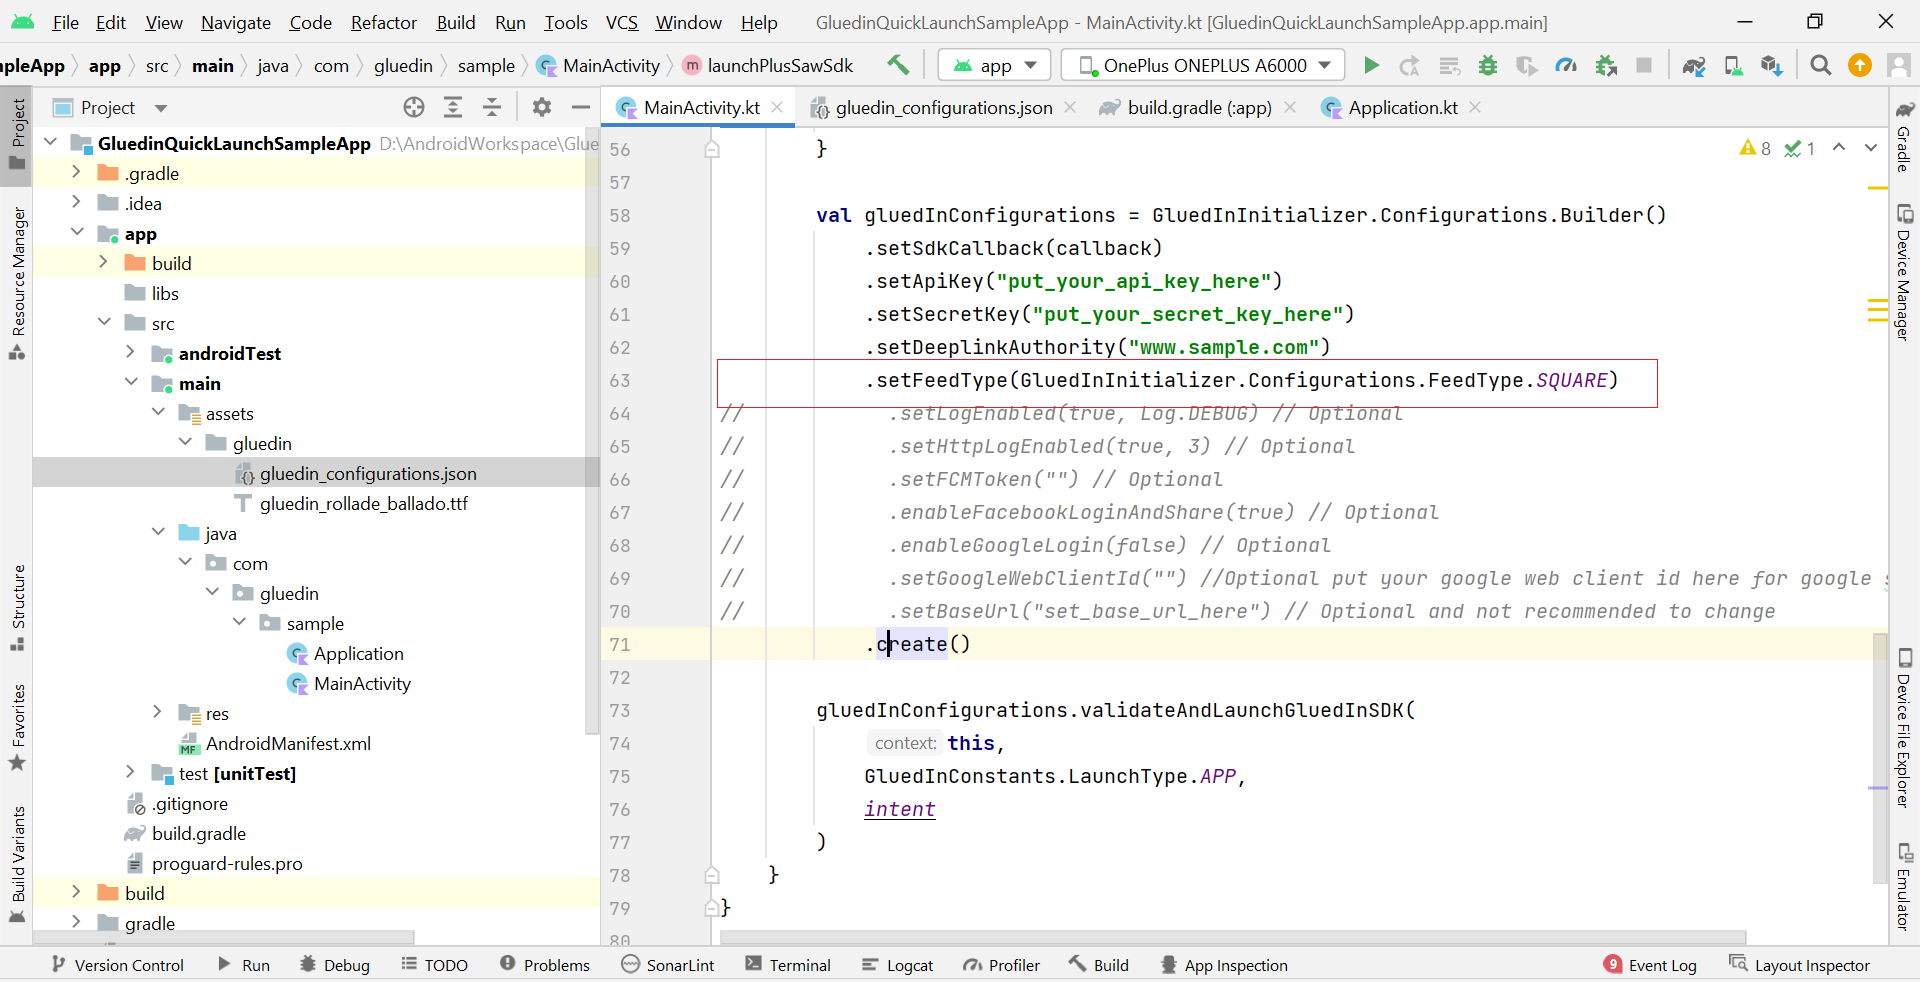
val gluedInConfigurations = GluedInInitializer.Configurations.Builder()
.setSdkCallback(callback)
.setApiKey("put_your_api_key_here")
.setSecretKey("put_your_secret_key_here")
.setDeeplinkAuthority("www.sample.com")
.setFeedType(GluedInInitializer.Configurations.FeedType.SQUARE)
// .setLogEnabled(true, Log.DEBUG) // Optional
// .setHttpLogEnabled(true, 3) // Optional
// .setFCMToken("") // Optional
// .enableFacebookLoginAndShare(true) // Optional
// .enableGoogleLogin(false) // Optional
// .setGoogleWebClientId("") //Optional put your google web client id here for google signin .create()
gluedInConfigurations.validateAndLaunchGluedInSDK( this, GluedInConstants.LaunchType.APP,ntent)
9. Now put your API and Secret Key (copied from onboarding steps) into the MainActivity.kt file, like below.
10. You have to also add your domain name into DeepLinkAuthority as depicted below:
Note:Don’t add http or https
Ex: http://www.gluedin.io OR http://www.google.com
11. Now open the app/build.gradle file and change the URL scheme to your domain to reflect the same when someone shares any content from the app.
Note:Don’t add http or https
Ex: http://www.gluedin.io OR http://www.google.com
Now clean the project and build again.
- Clean Project
- Rebuild Project
 Note: You might face Manifest merge issue due to “allowBackup” tags. Please use below to fix this problem.
tools:replace="android:allowBackup
Optional Steps for customization into SDK
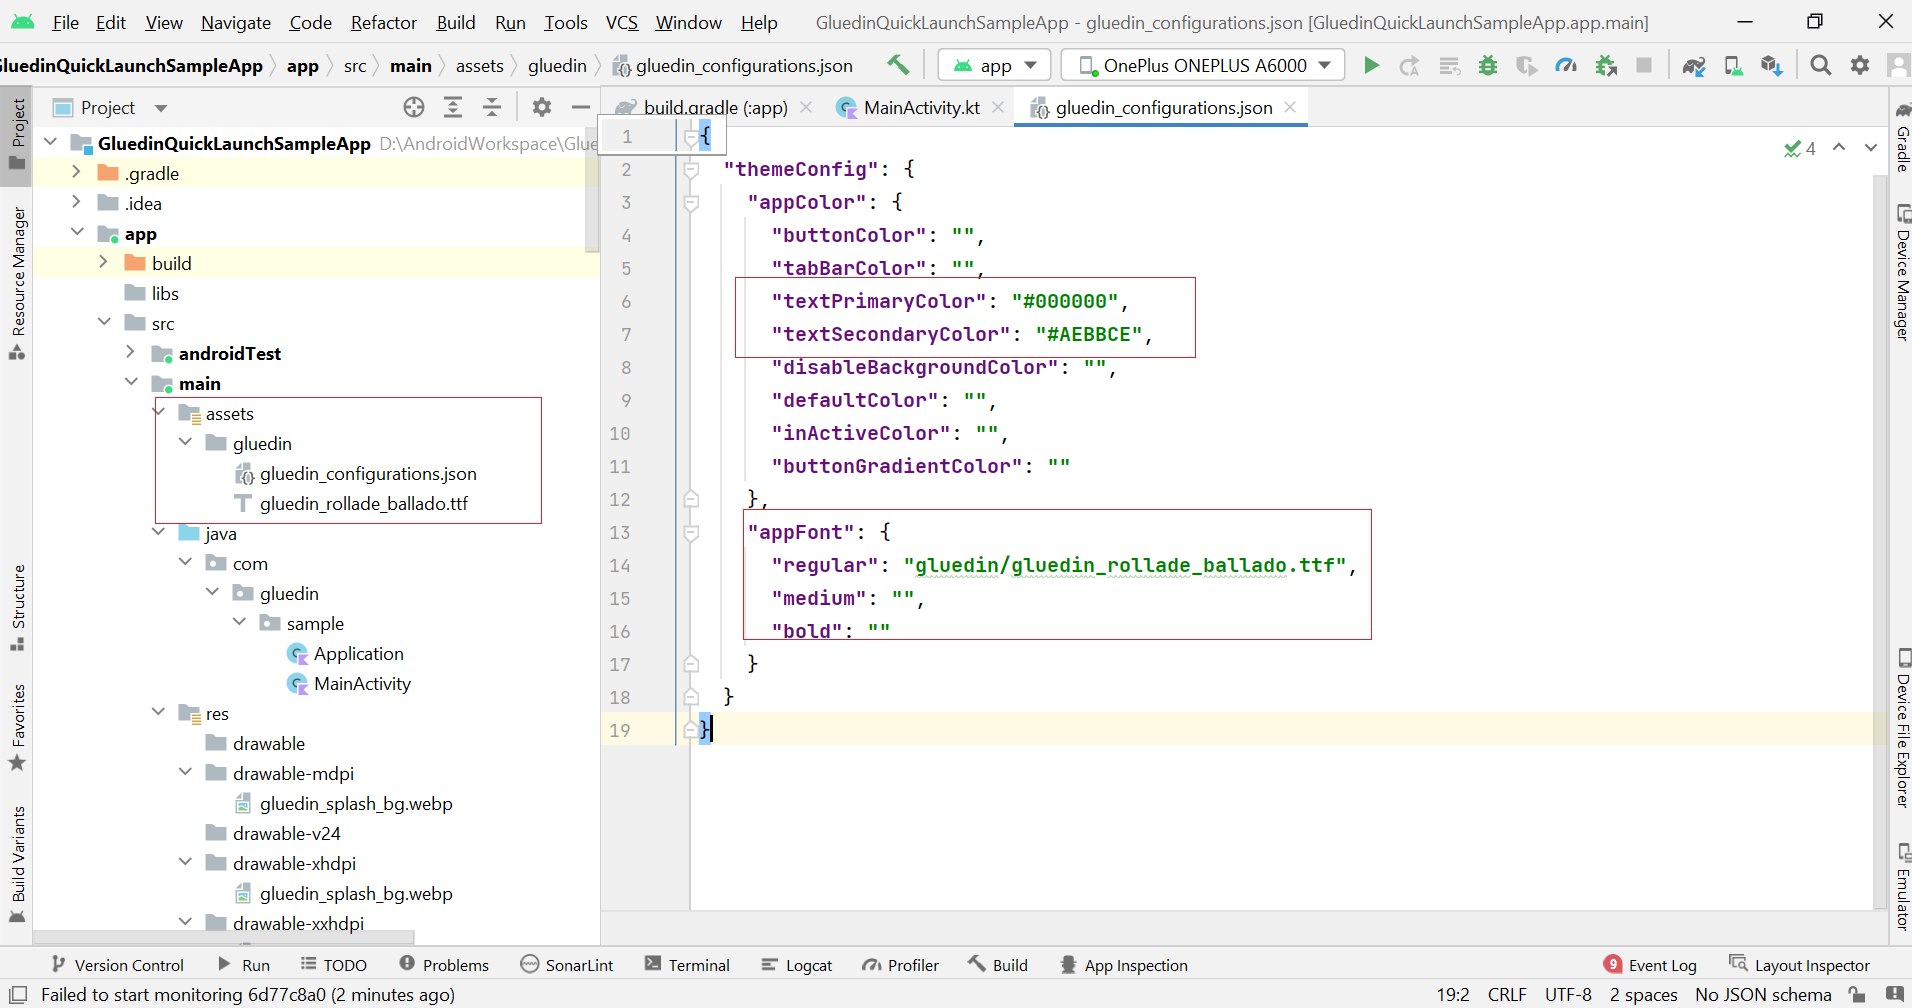
- You can change the App theme by using below steps:
a. Add the “gluedin_configurations.json” file into assets/gluedinfolder, and add the color codes into respective keys, like below screenshot.
b. You can also add custom fonts and put the name into respective keys, like below screenshot.
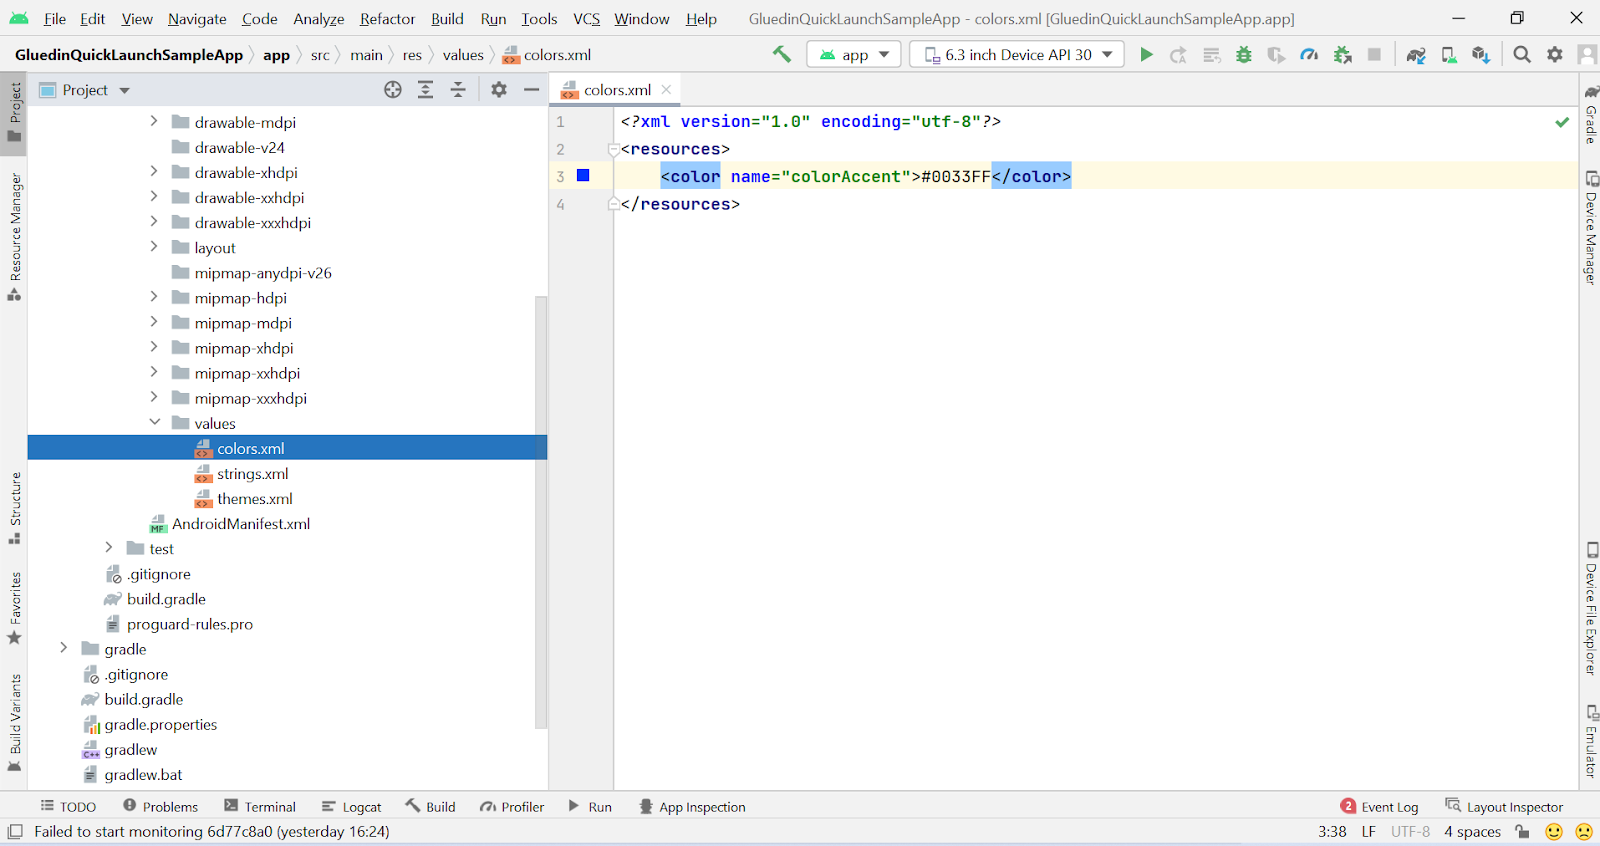
c. You can change the app theme color by changing into colors.xml.
Note:This step is only applicable for quick launch only. Not for integration into existing applications.
- To integrate Facebook & Google Sign-in into GluedIn SDK, Refer Step 6.
- To integrate Firebase Crashlytics, Firebase Deeplink and Firebase Analytics, please create an app on Firebase console and follow the instructions mentioned in their website. Download the google-services.json file after setting up all and replace the file into the project.
Firebase Crashlytics Setup
Firebase Dynamic Link Setup
Google Analytics Setup
- Note: To you google services, please make sure to add below:
a. Open project/build.gradle file and below line in “dependencies” tag.
classpath 'com.google.gms:google-services:4.3.10'
Also add below line in app/build.gradle file under “plugins” tag.
id 'com.google.gms.google-services'
b. If crashlytics is enabled in your app then add below line in project/build.gradle file under “dependencies” tag
classpath 'com.google.firebase:firebase-crashlytics-gradle:2.8.1'
Also add below line in app/build.gradle file under “plugins” tag
id 'com.google.firebase.crashlytics'
- If You want to enable/disable the Facebook and Google Sign-in features, you can enable/disable like below:
- If you want to change the base url of SDK API’s, you can change by using below method, but we encourage not to change it since it’s most preferred for developers:
Note: Available from SDK version “0.0.9” . It’s a optional property and by default it’s pointing to Gluedin production server
- You can select the feed type of the SDK based on your preference.
Note: Available from SDK version “0.0.9”. Default feed type is “Vertical”
Possible values are:
For Vertical Feed - GluedInInitializer.Configurations.FeedType.VERTICAL
For Square Feed - GluedInInitializer.Configurations.FeedType.SQUARE
Social Login Integration into SDK
- Steps to integrate Facebook into GluedIn SDK
a. Create the app on Facebook's official website and get the application id.
b. Now paste the application id into facebook_app_id tag into app/build.gradle file.
manifestPlaceholders["gluedin_sdk_facebook_app_id"] = ""

resValue "string", "gluedin_sdk_facebook_app_id", ""
Note:Add your created Facebook app id in place of empty value
c. If you don’t want to use the Facebook feature, keep the key value empty.
Note: Don’t delete the keys or lines in app/build.gradle, it may lead to compile time issues.
- Steps to integrate Google Sign-in into Gluedin SDK
Follow the steps mentioned on google developer link.
Download the google-services.json file after setting up all and replace the file into the project.
Enable Ad’s into Feed
- Open AndroidManifest.xml file of the Application
- Paste add below meta data tag in tag and put your ad application id there.
manifestPlaceholders["gluedin_sdk_facebook_app_id"] = ""

resValue "string", "gluedin_sdk_facebook_app_id", ""
- Now add Banner, Interstitial and Native Ad id’s on the Console.
Hide the Creator Icon from Bottom bar
- Creator icon can be hidden from the bottom bar if the Invite Only feature is enabled from the console.
- Please use below method in the GluedIn SDK configuration before launching the no code SDK.
enableCreator(enable: Boolean) // to hide the + icon if Invite Only feature is enabled from console
Show the back icon/arrow on the Feed Screen
- You can enable/disable the back icon on the feed screen to exit from the app, although user can use the device back button to exit from the app but this back icon can also be used for same purpose.
Note: Default it’s hidden, so you have to enable it via SDK configuration if it needs to be visible.
- Please use below method in the GluedIn SDK configuration before launching the no code SDK.
enableBackButton(enable: Boolean) // to enable or disable back button on feed screen


Follow the steps mentioned on google developer link.
Download the google-services.json file after setting up all and replace the file into the project.